Navigation menu
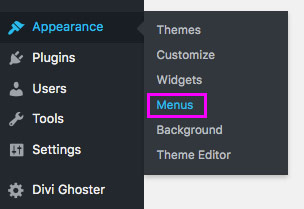
To begin, navigate to the Appearance menu and click on Menu.
You’ll arrive at the WordPress menus dashboard.

On the left-hand panel, under the section titled Add menu items, you’ll see a drop-down selector. Here you can choose between Pages, Posts, Custom Links and Categories. Each of these can be added to a menu.
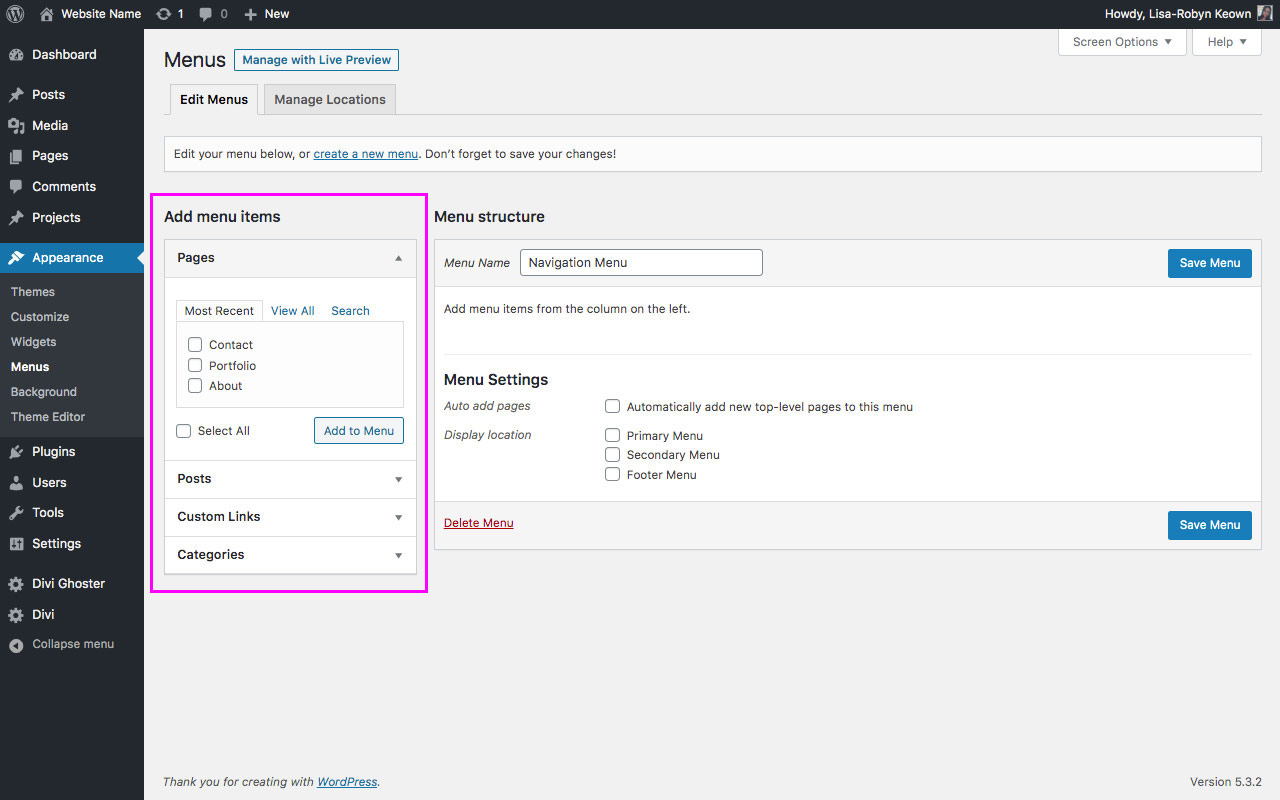
First things first, you need to give your menu a name. Under Menu structure, in the entry section titled Menu Name, type a name for your menu. By default, WordPress will populate this with the text ‘Navigation Menu’. In my example, we’ve titled it ‘My First Menu’.
Under menu settings, we have selected to assign this as the Primary menu. When complete, click Save Menu.

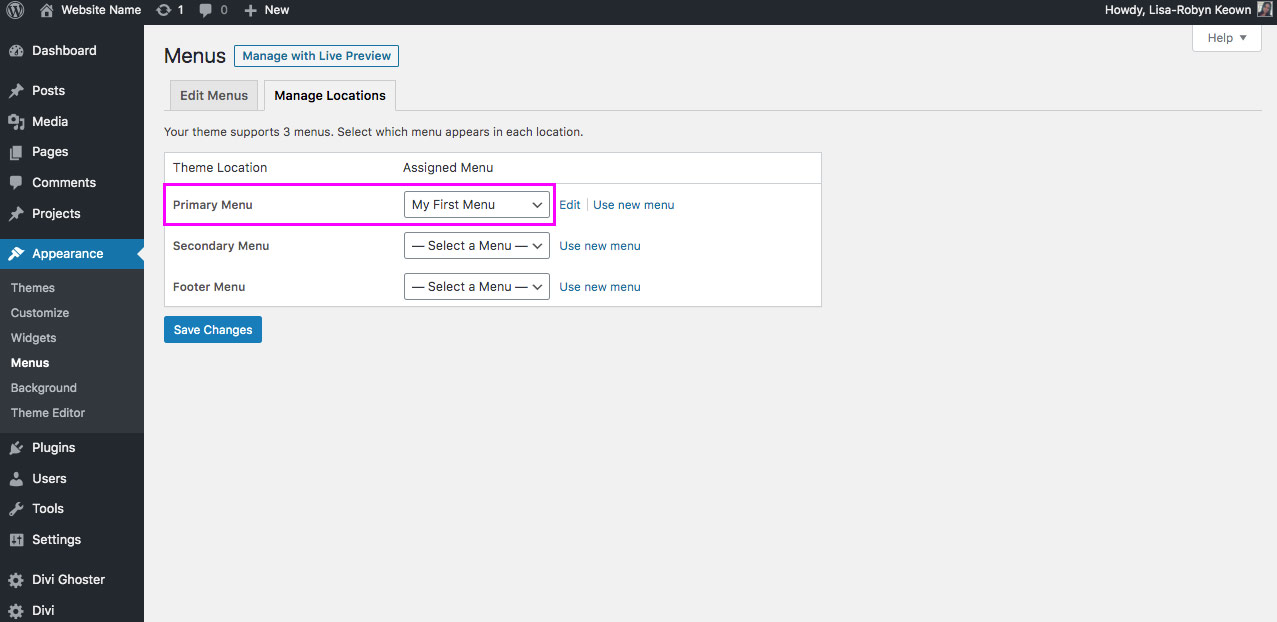
If you click on the Manage Locations tab, you’ll see that the menu has been assigned to the Primary Menu location. If you haven’t already assigned it, you can do so here.
Now it is time to add pages to your menu. Return to the Edit Menus tab and navigate to the Add menu items console. The Pages tab should be open by default. If not, click the down arrow and you’ll see a collection of your pages available. Click View All to see all of the pages you’ve created. If you have a large number of pages, use the Search function to locate the correct pages. Select the pages you’d like to add by using the checkbox feature, then click Add to Menu.
Once the pages are added, click and drag them to arrange the order. If you’d like to create drop-down menu items, slide the page slightly to the right until it becomes a sub-page.
When ready, click Save Menu.
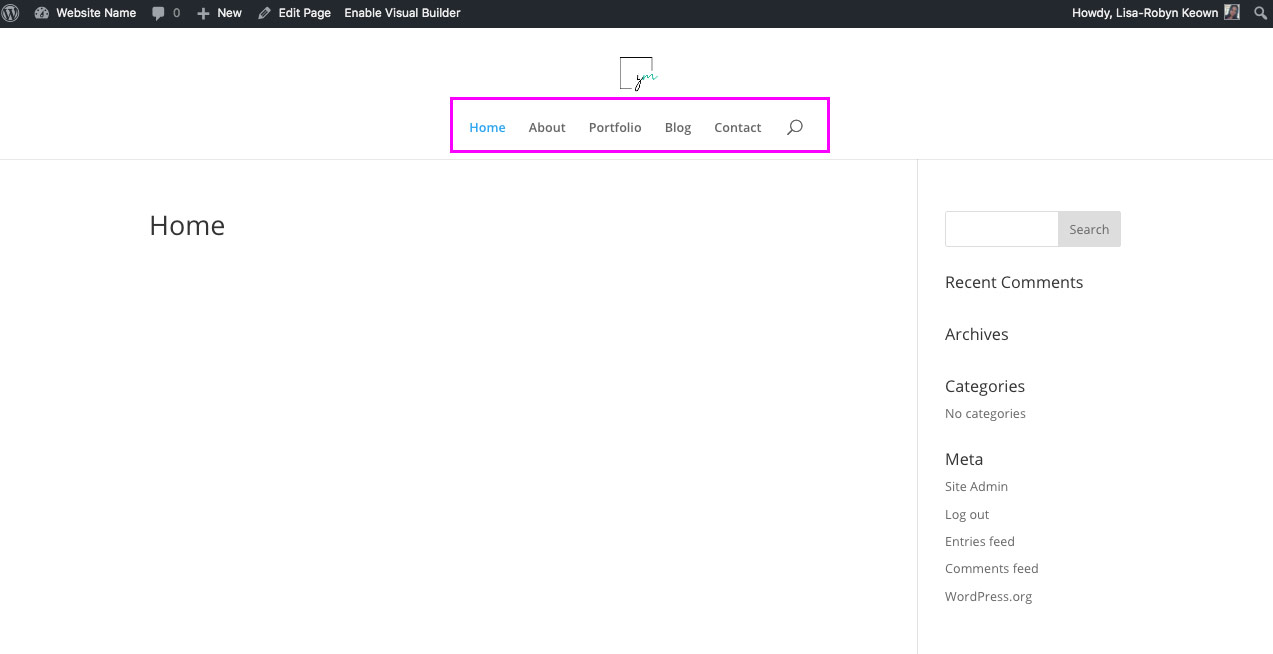
Head over to the front end of your website, and you’ll see that the menu has been created successfully.
Adding categories and posts to a menu is done in exactly the same way, however, adding a custom link is different. Using the custom link, you can turn just about any page, post or element into a menu item for your Divi website.
To illustrate this in action, we’ll add the divi.space website to my menu as a custom link. To do so, click on the Custom Links drop-down and enter a desired URL and link text name. Click add to Menu.
When added, you can drag and drop the new menu item to arrange the correct order. When complete, click Save Menu.

If you return to the front end of your website, you’ll see the new menu item has been added.
Secondary menu
We won’t be needing a secondary menu for our demo site, but we’ll briefly explain how to create one.
First, create a new menu and assign it a unique name. We’ve named the menu Top Menu. Use the Menu Settings to set it as the Secondary Menu. Add your pages as before and click Save Menu.
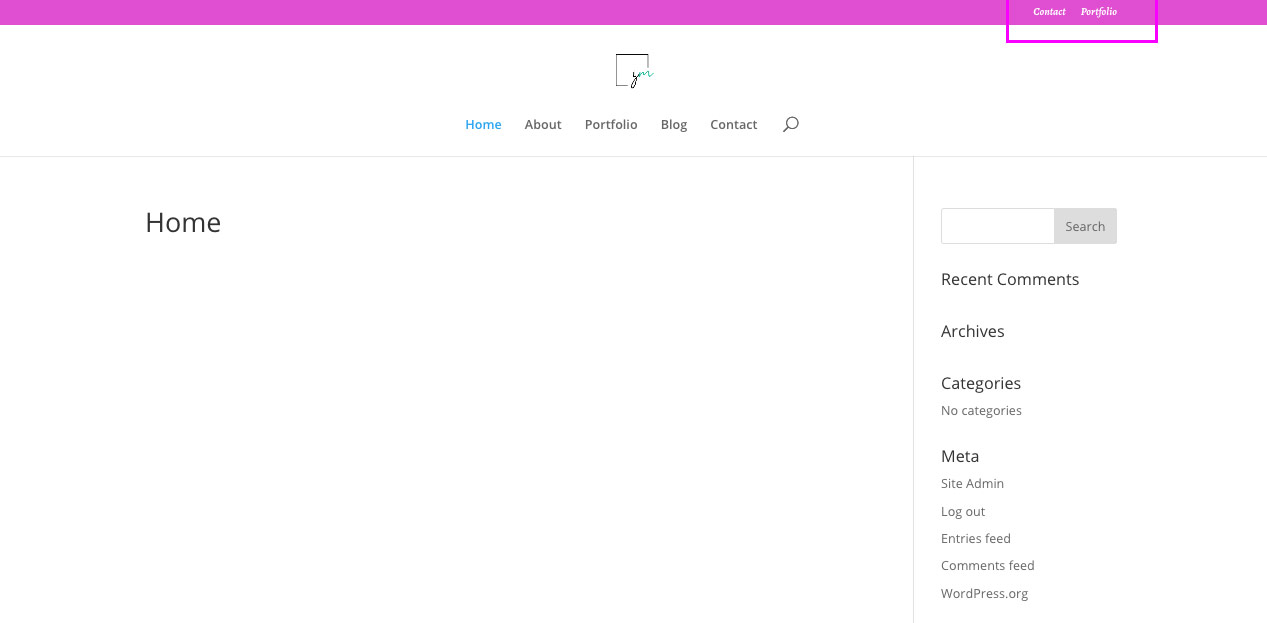
Head over to the front end of your website, and you’ll see that a new menu has just been added above your navigation menu.

To style the menu, open the Divi Theme Customizer. Navigate to Header & Navigation and select Secondary Menu. Here you can set a number of styling options for the secondary menu including the background color, font style and so on. Click Publish to save your changes.
When complete, return to the front end and you’ll see your secondary menu is intact.
Footer menu
Finally, you can create a menu to add to your footer.
To do so, create a menu in the same fashion as before. Assign it to the Footer Menu location. Click Save Menu.
When complete, return to the front end, and you’ll see your footer menu is intact.
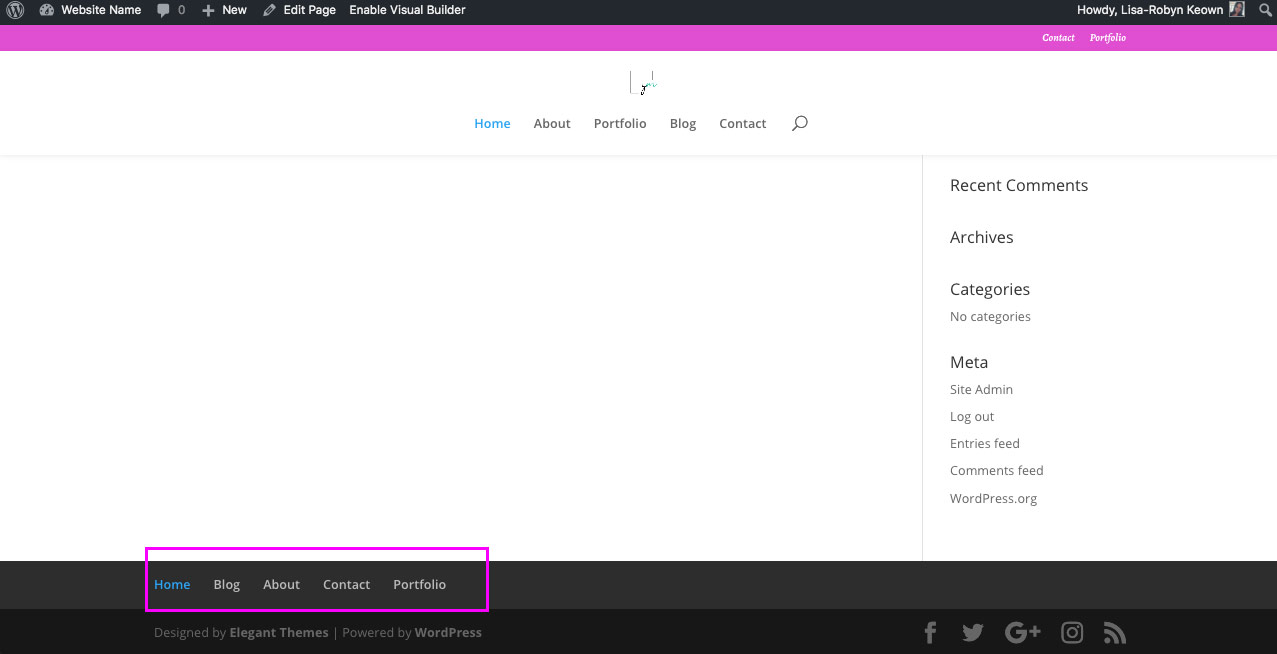
The footer of a WordPress website is largely connected to the Widgets. We’ll discuss this in the next section.